It’s been a couple of years since I’ve worked in clay and, boy, have I missed it! I dipped my toes in the water with leaf sculptures to begin. First I threw the slabs, then I drew and cut out shapes of leaves representing several tree species that have awesome Autumn colors. Next I curled and shaped them and let them dry to leather-hard for final sculpting. It’s been so much fun! I have some bay, laurel, birch, aspen, oak, and maple leaves represented, as near as I can tell, and possibly a few more. To date I have 58 leaves drying in anticipation of bisque-firing. I may do more, hard to say. They are addictive. However, today I started a Chanterelle mushroom sculpture, so I may just stay focused on that awhile. Check back to find out! I will be posting those photos next week…
Ceramic Tile Coasters with Alcohol Inks and Resin
A Saga of Ceramic Tile Coasters - Featuring Alcohol Inks and Resin
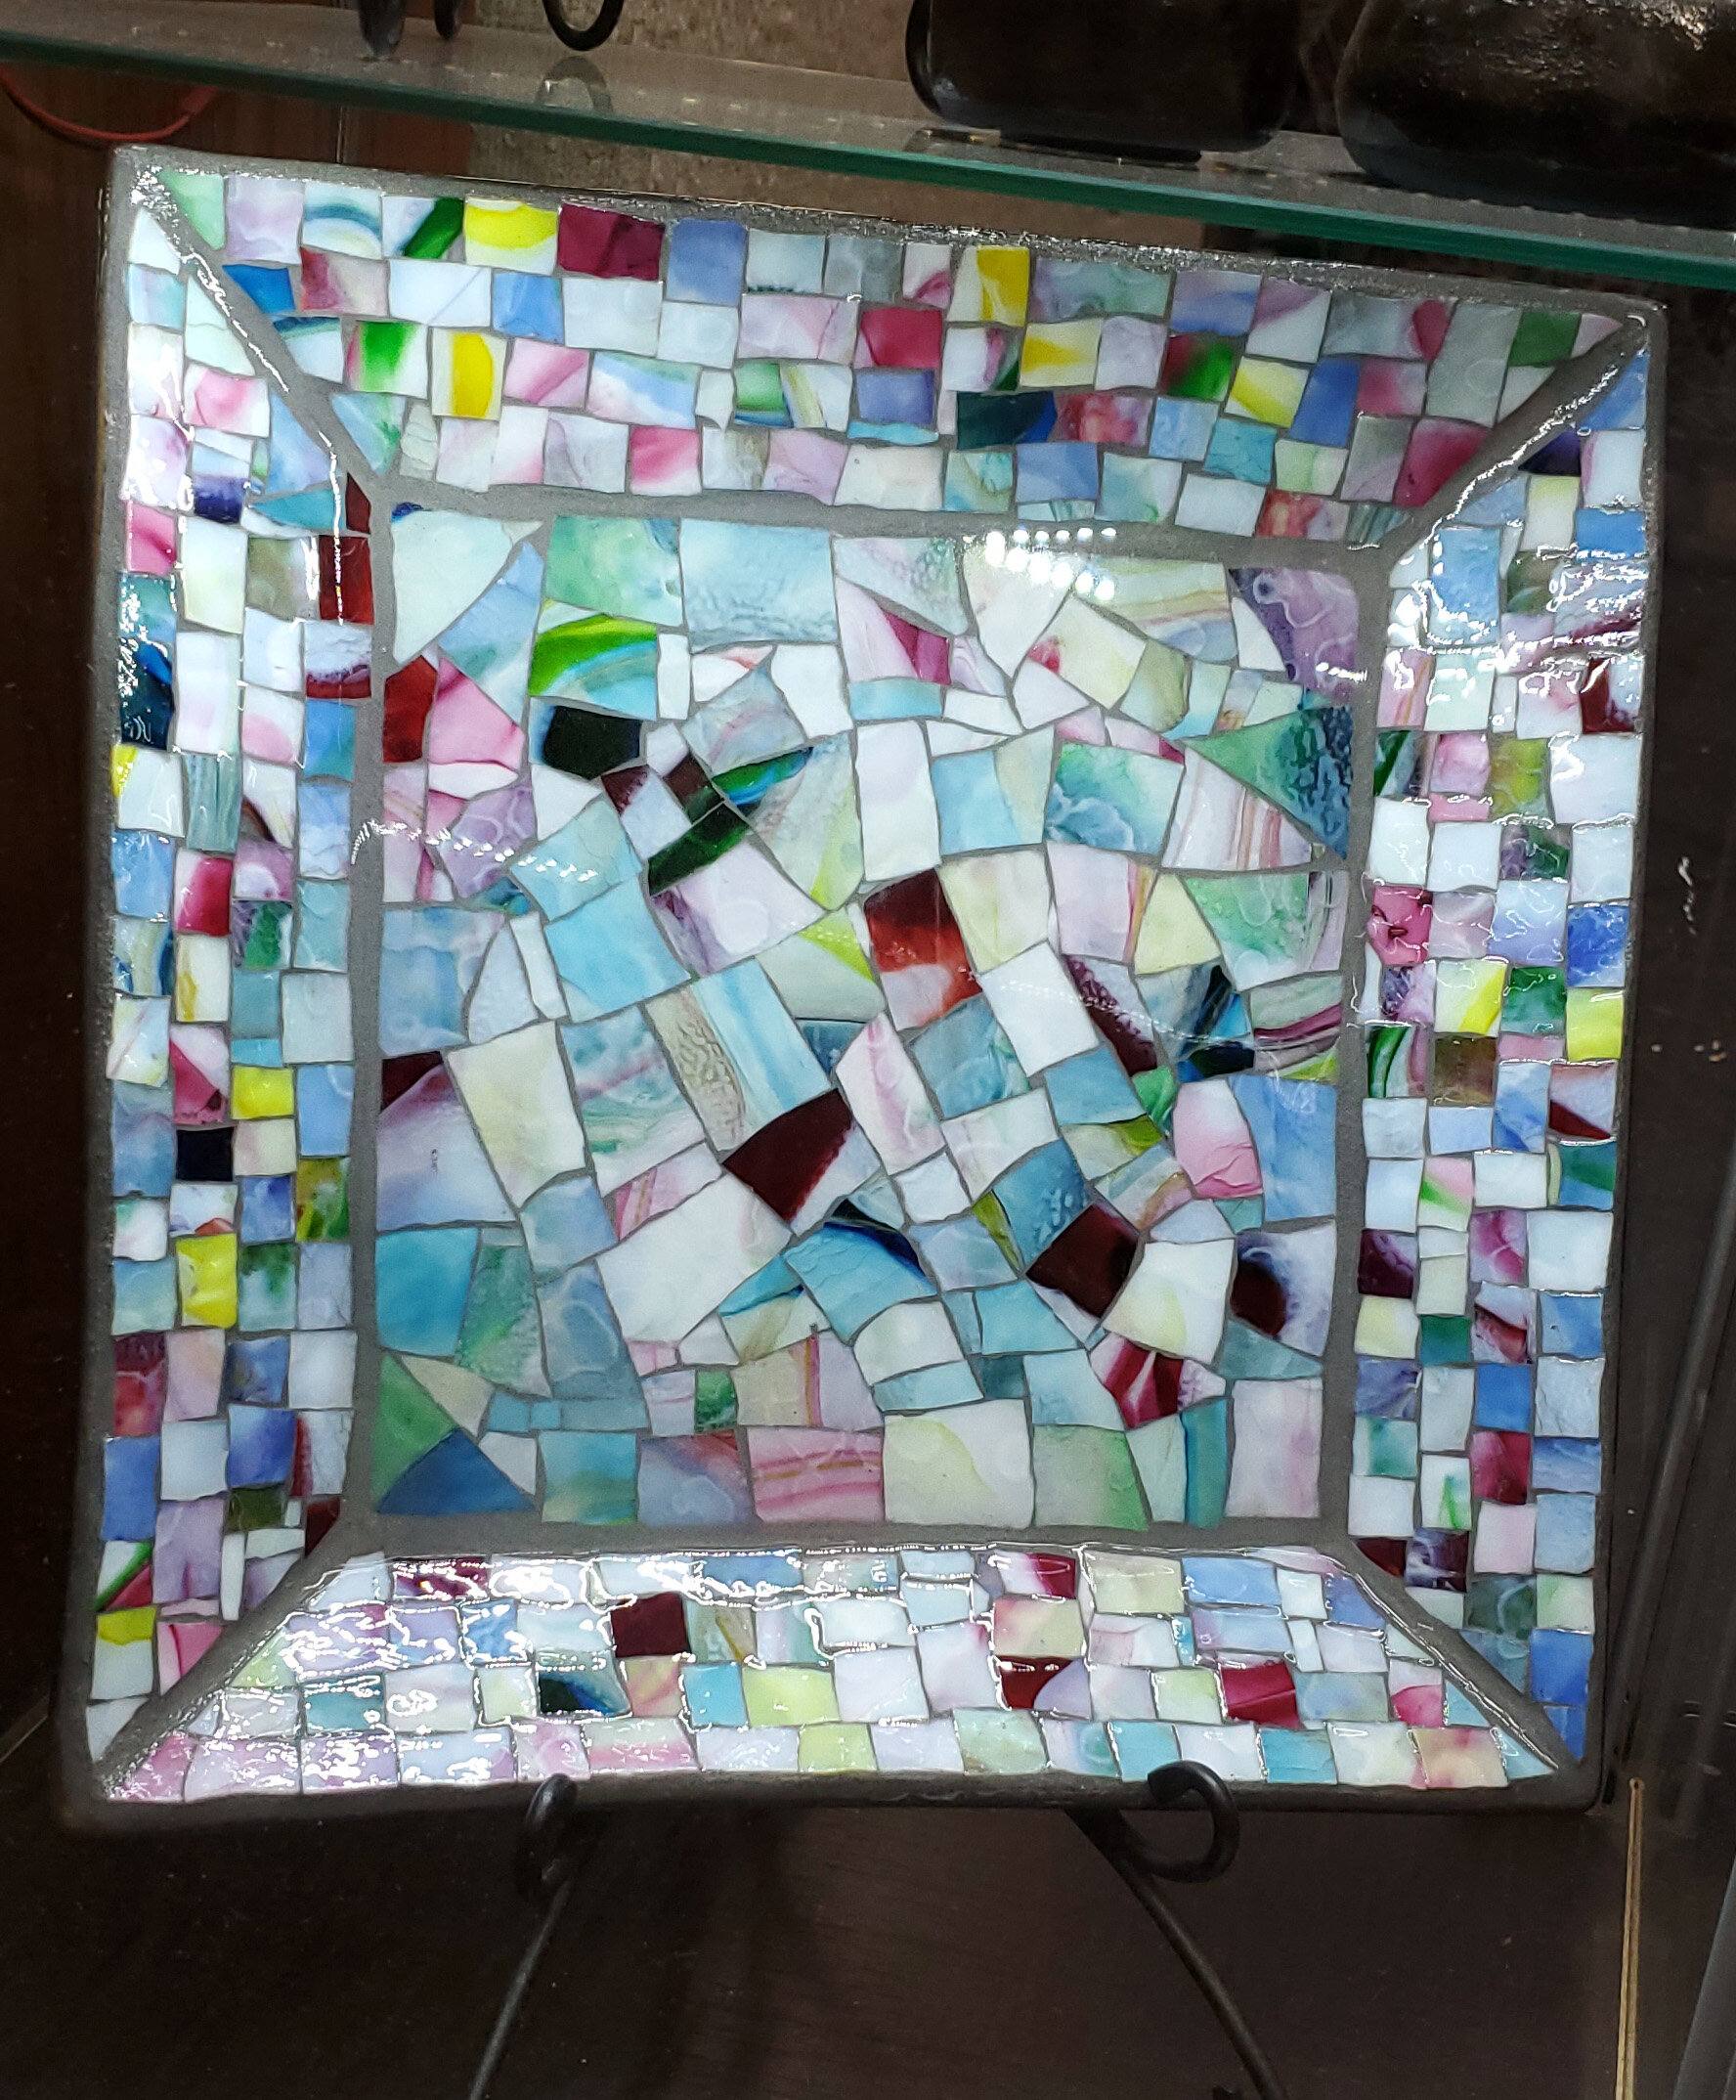
I am a firm believer in up-cycling items that would otherwise be thrown away, and making something beautiful and functional from them. I’ve made quilts, bags, and wallets from old jeans, corduroys, and khakis; I still crochet all styles of bags from so-called ‘plarn’ - otherwise known as plastic bag yarn. I turn old windows and picture frames into mosaic art, and small jars into mosaic night lights, and the list goes on. In a nutshell, I love to make things, and I hate to waste things. My self-made rules of recycling and up-cycling require that I use what I already have and don’t spend money I can’t afford on more supplies to complete a given project. I get my plastic bags from other people or save them myself, I get the old jeans and pants from friends, relatives, or dirt cheap on sale day at a local thrift store. I got my ceramic tiles for this project through the For Free listing on Craigslist.
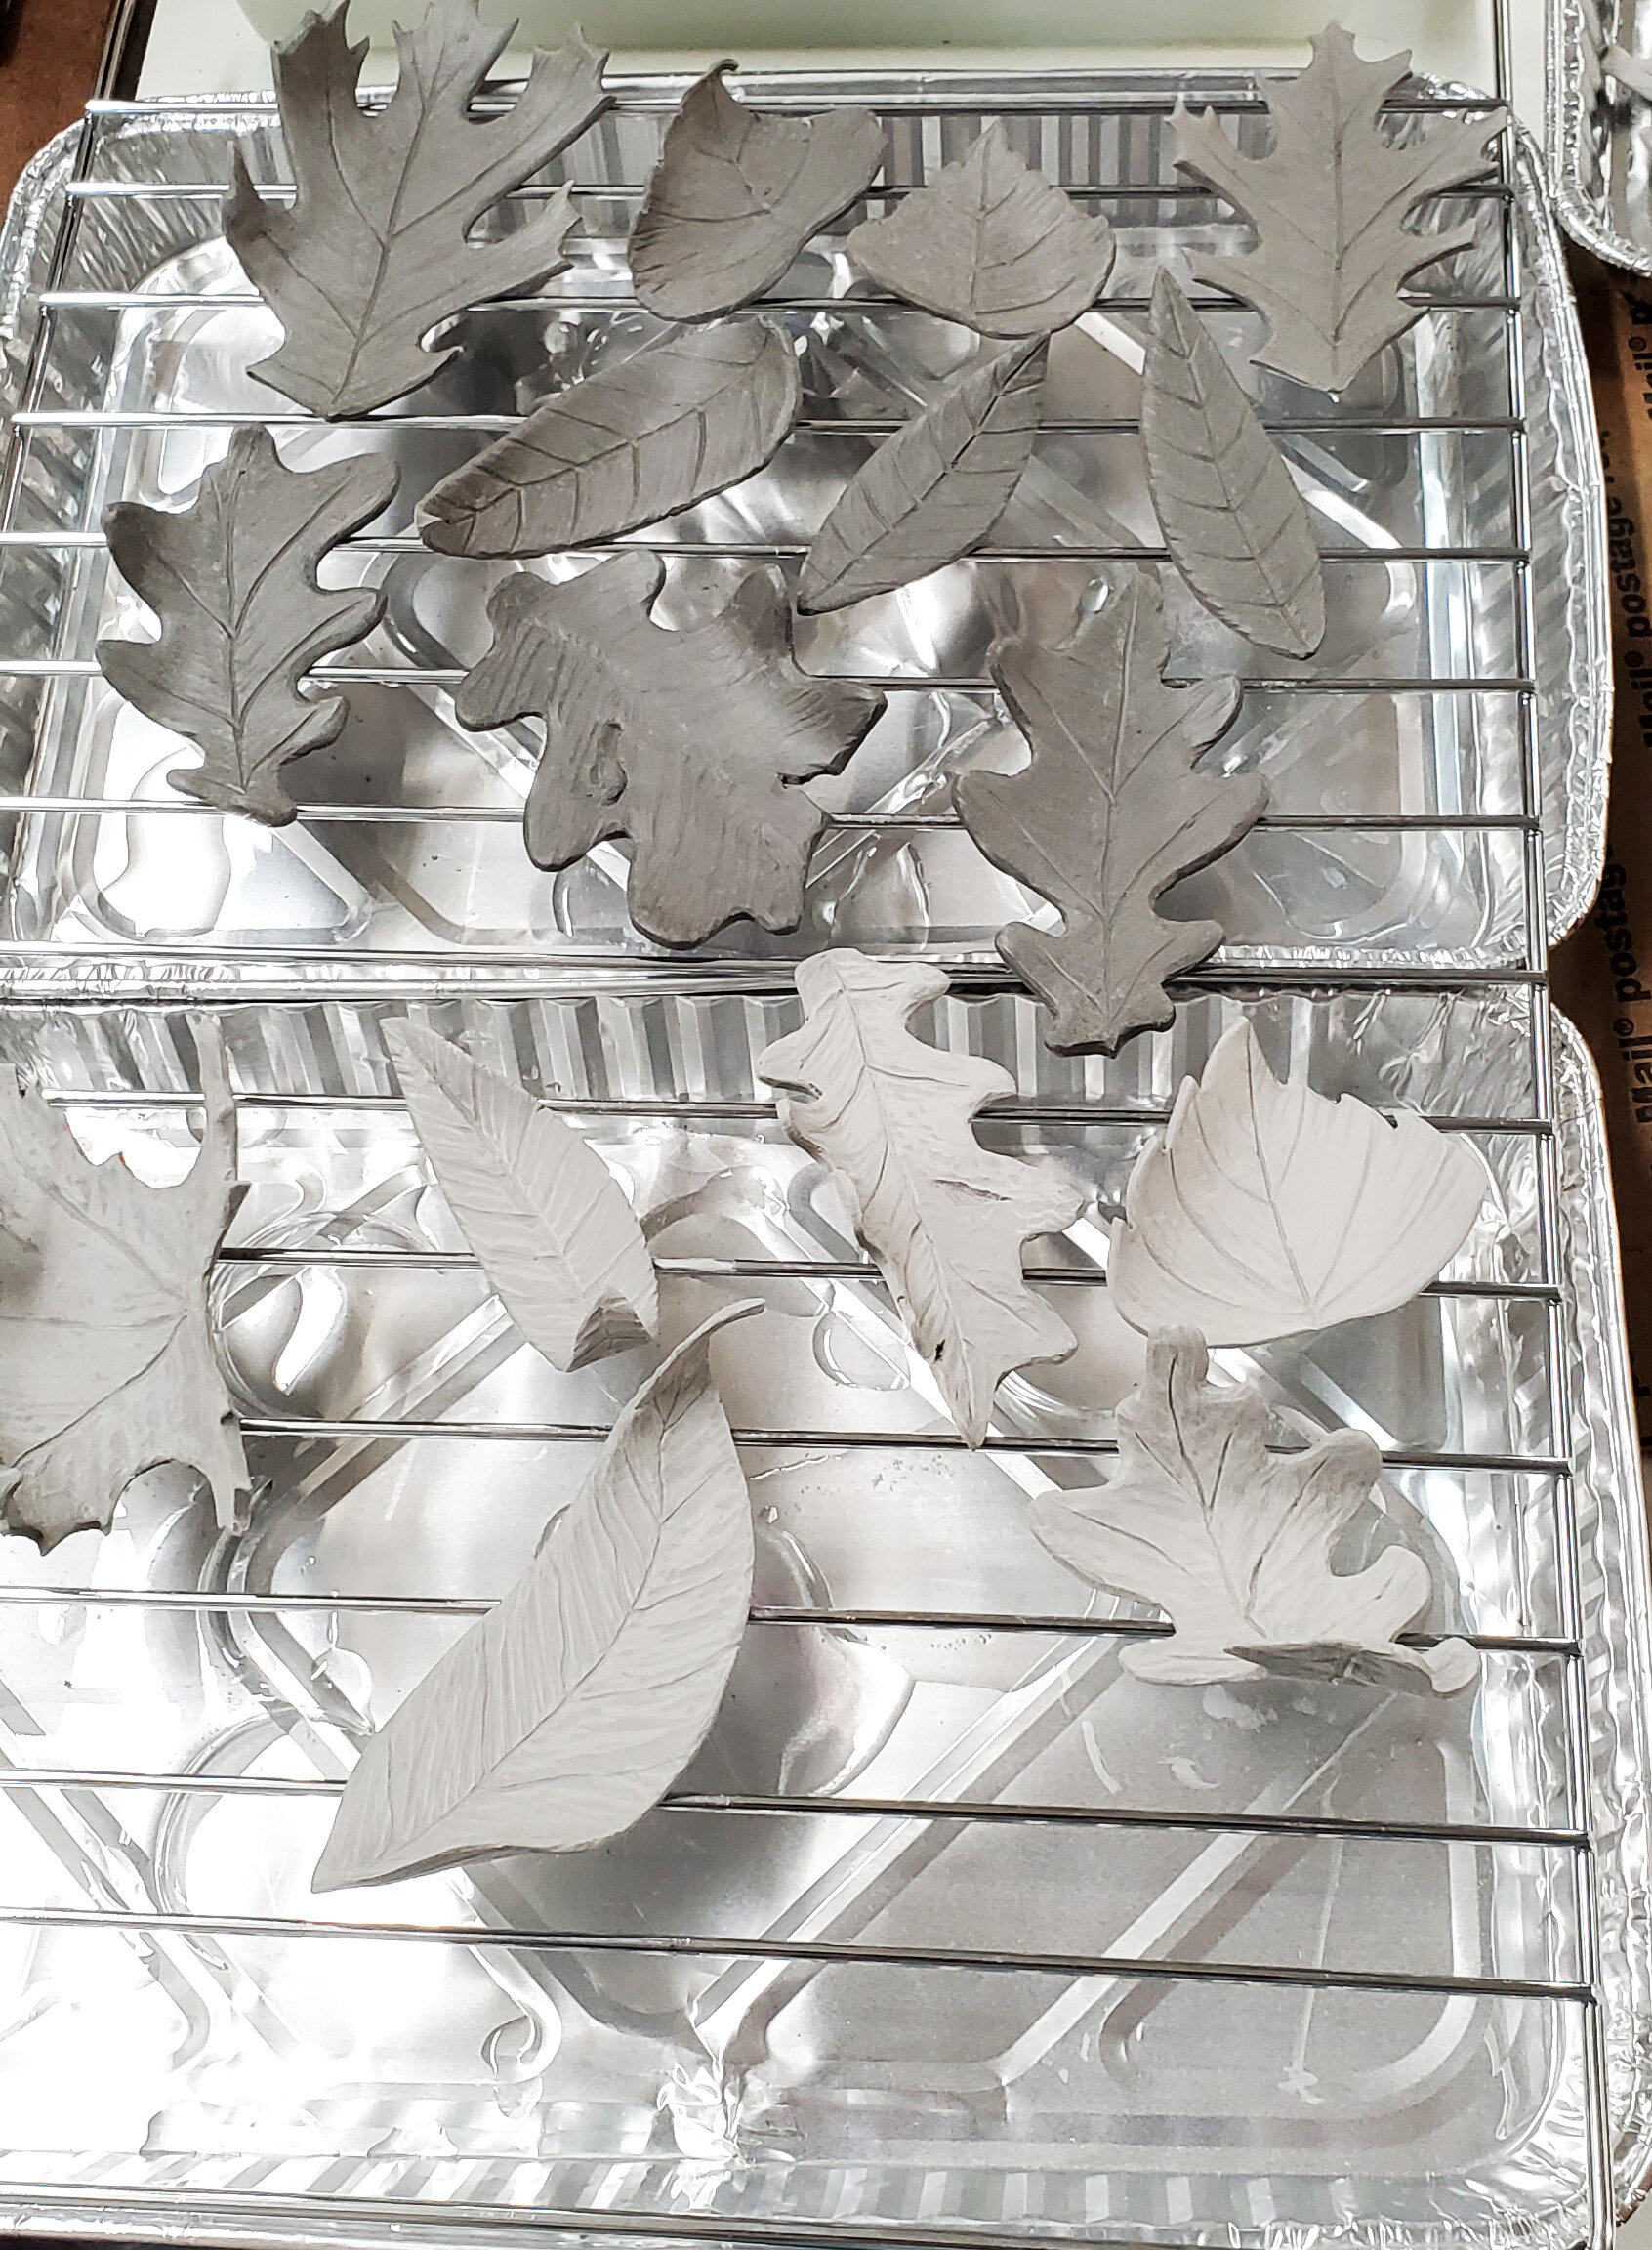
I found a contractor on Craigslist last year who was giving away hundreds of used and new tiles - brought home after his various remodel projects and stacked on the ground behind his shed on a corner of his property. With the help of my son I selected all the small sizes between 4x4 and 6x6 that he had, and that we could fit in the car. We spent several days washing them and baking them in the oven to dry, and finding places to store the bulk of them. And the whole time my mind was wondering what the billy heck could I do with hundreds of ceramic tiles.. something, for sure, but what?
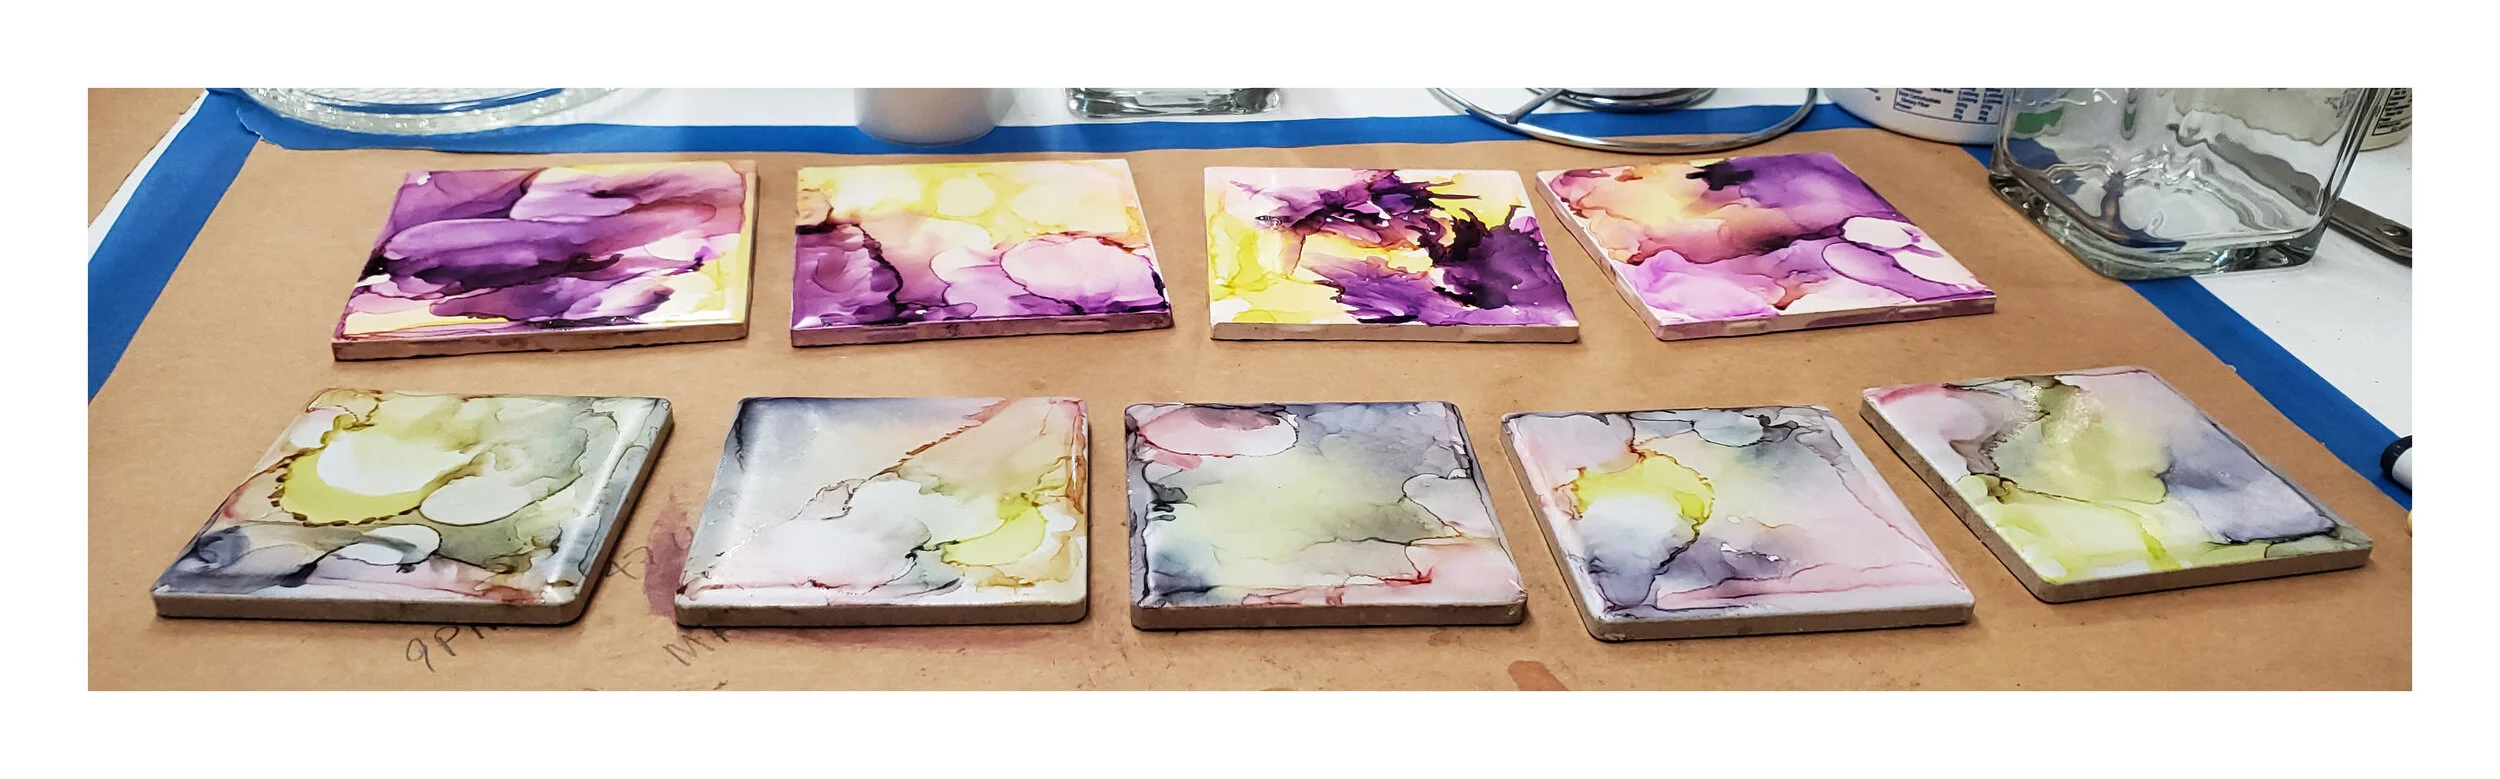
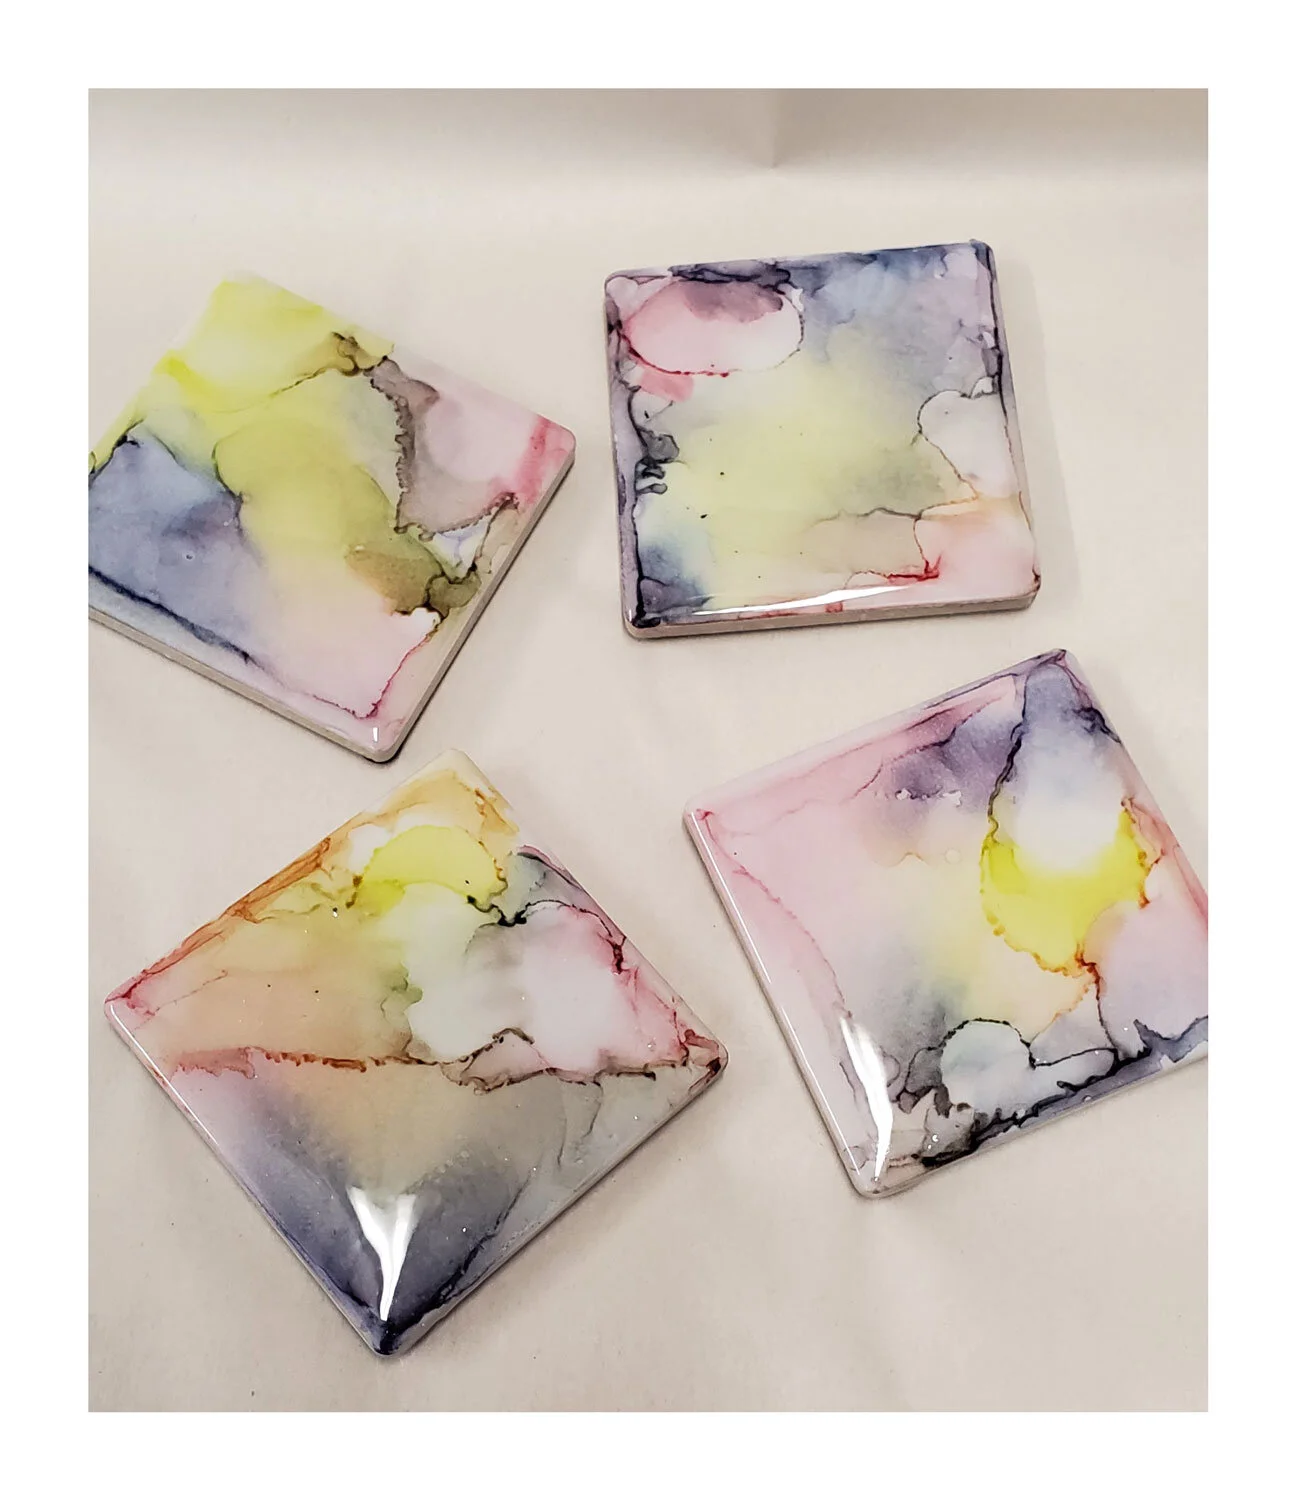
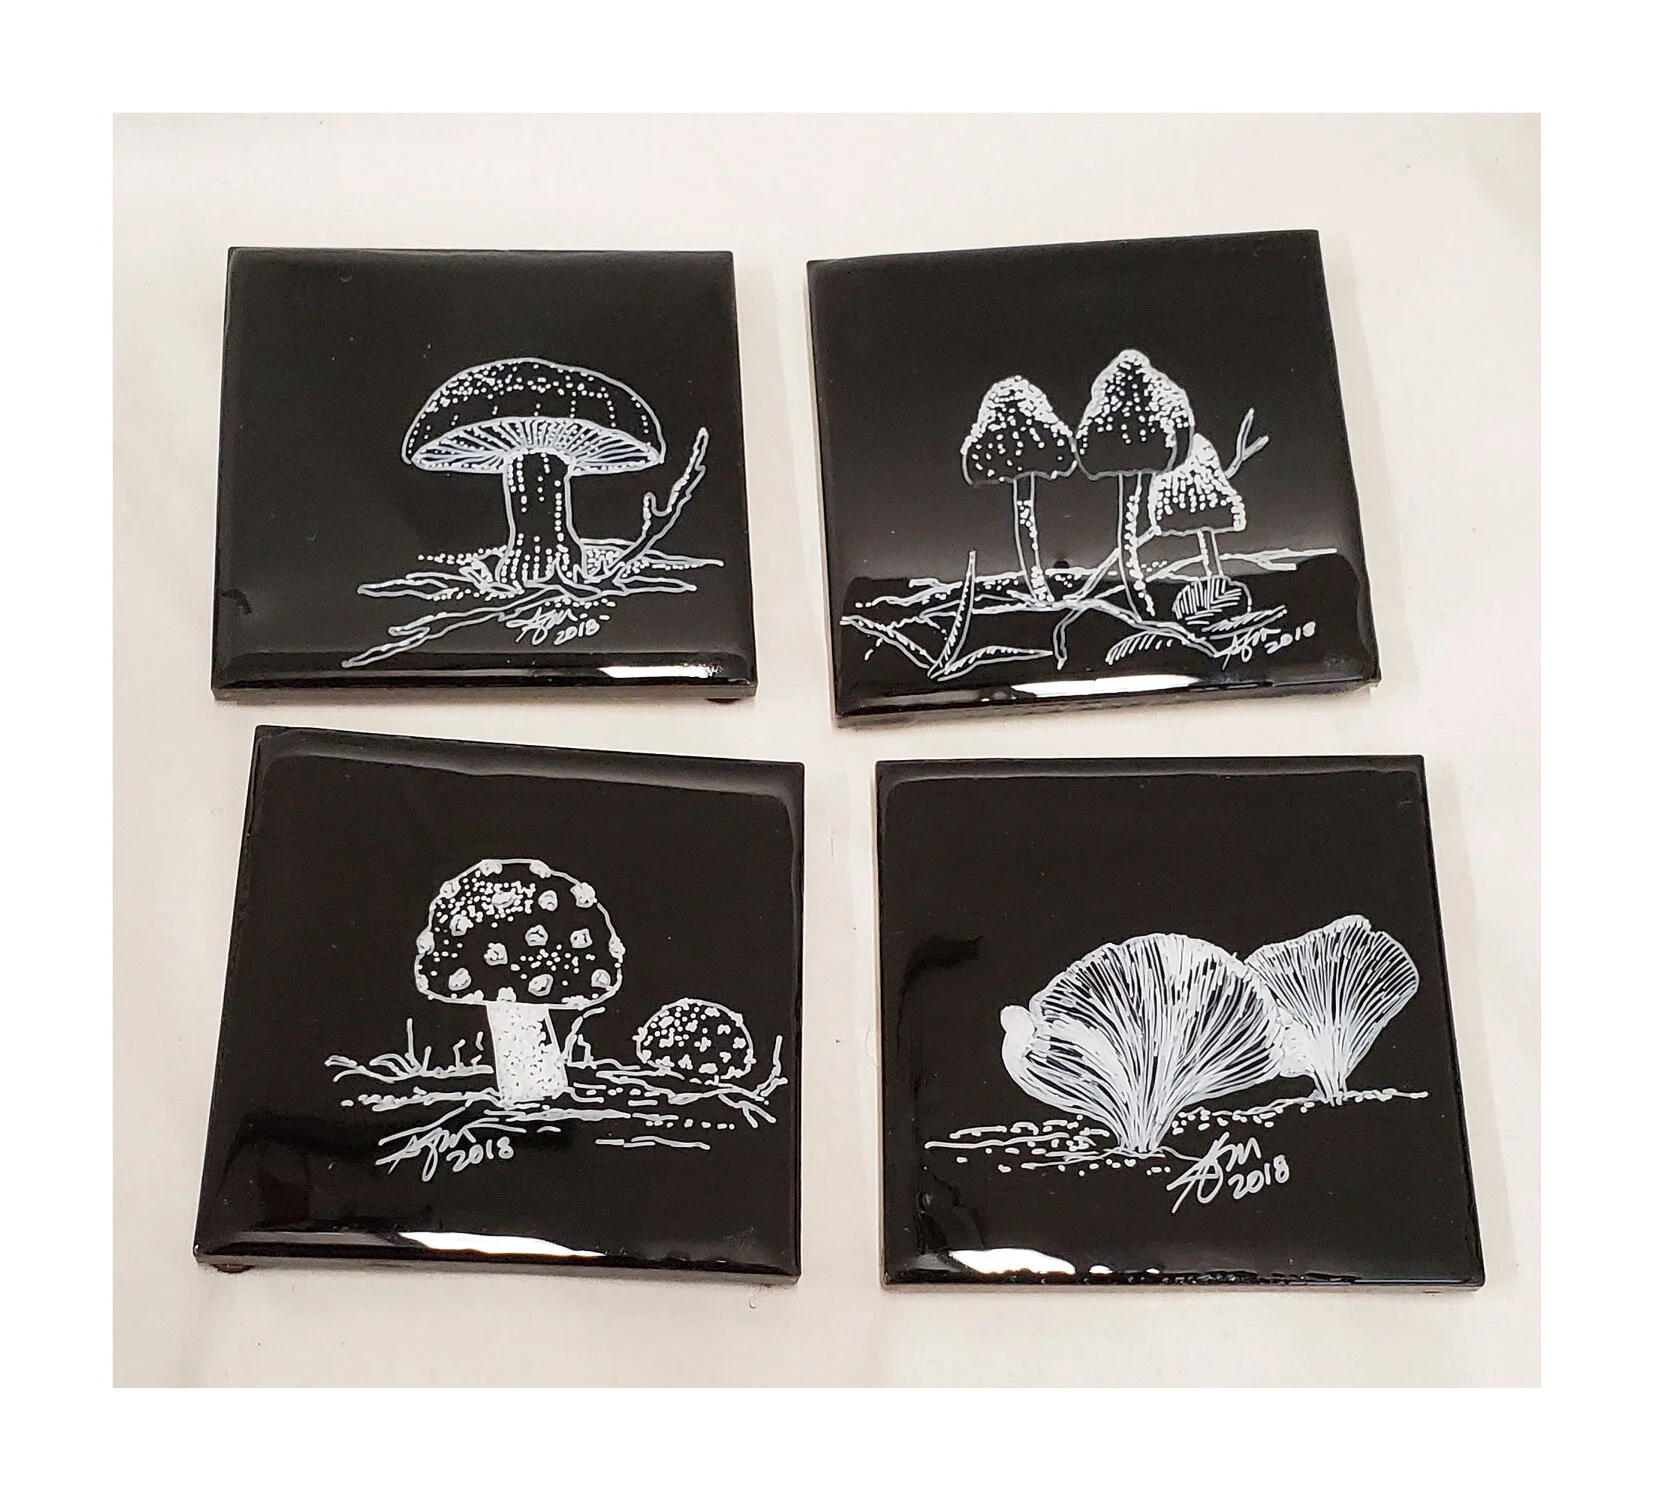
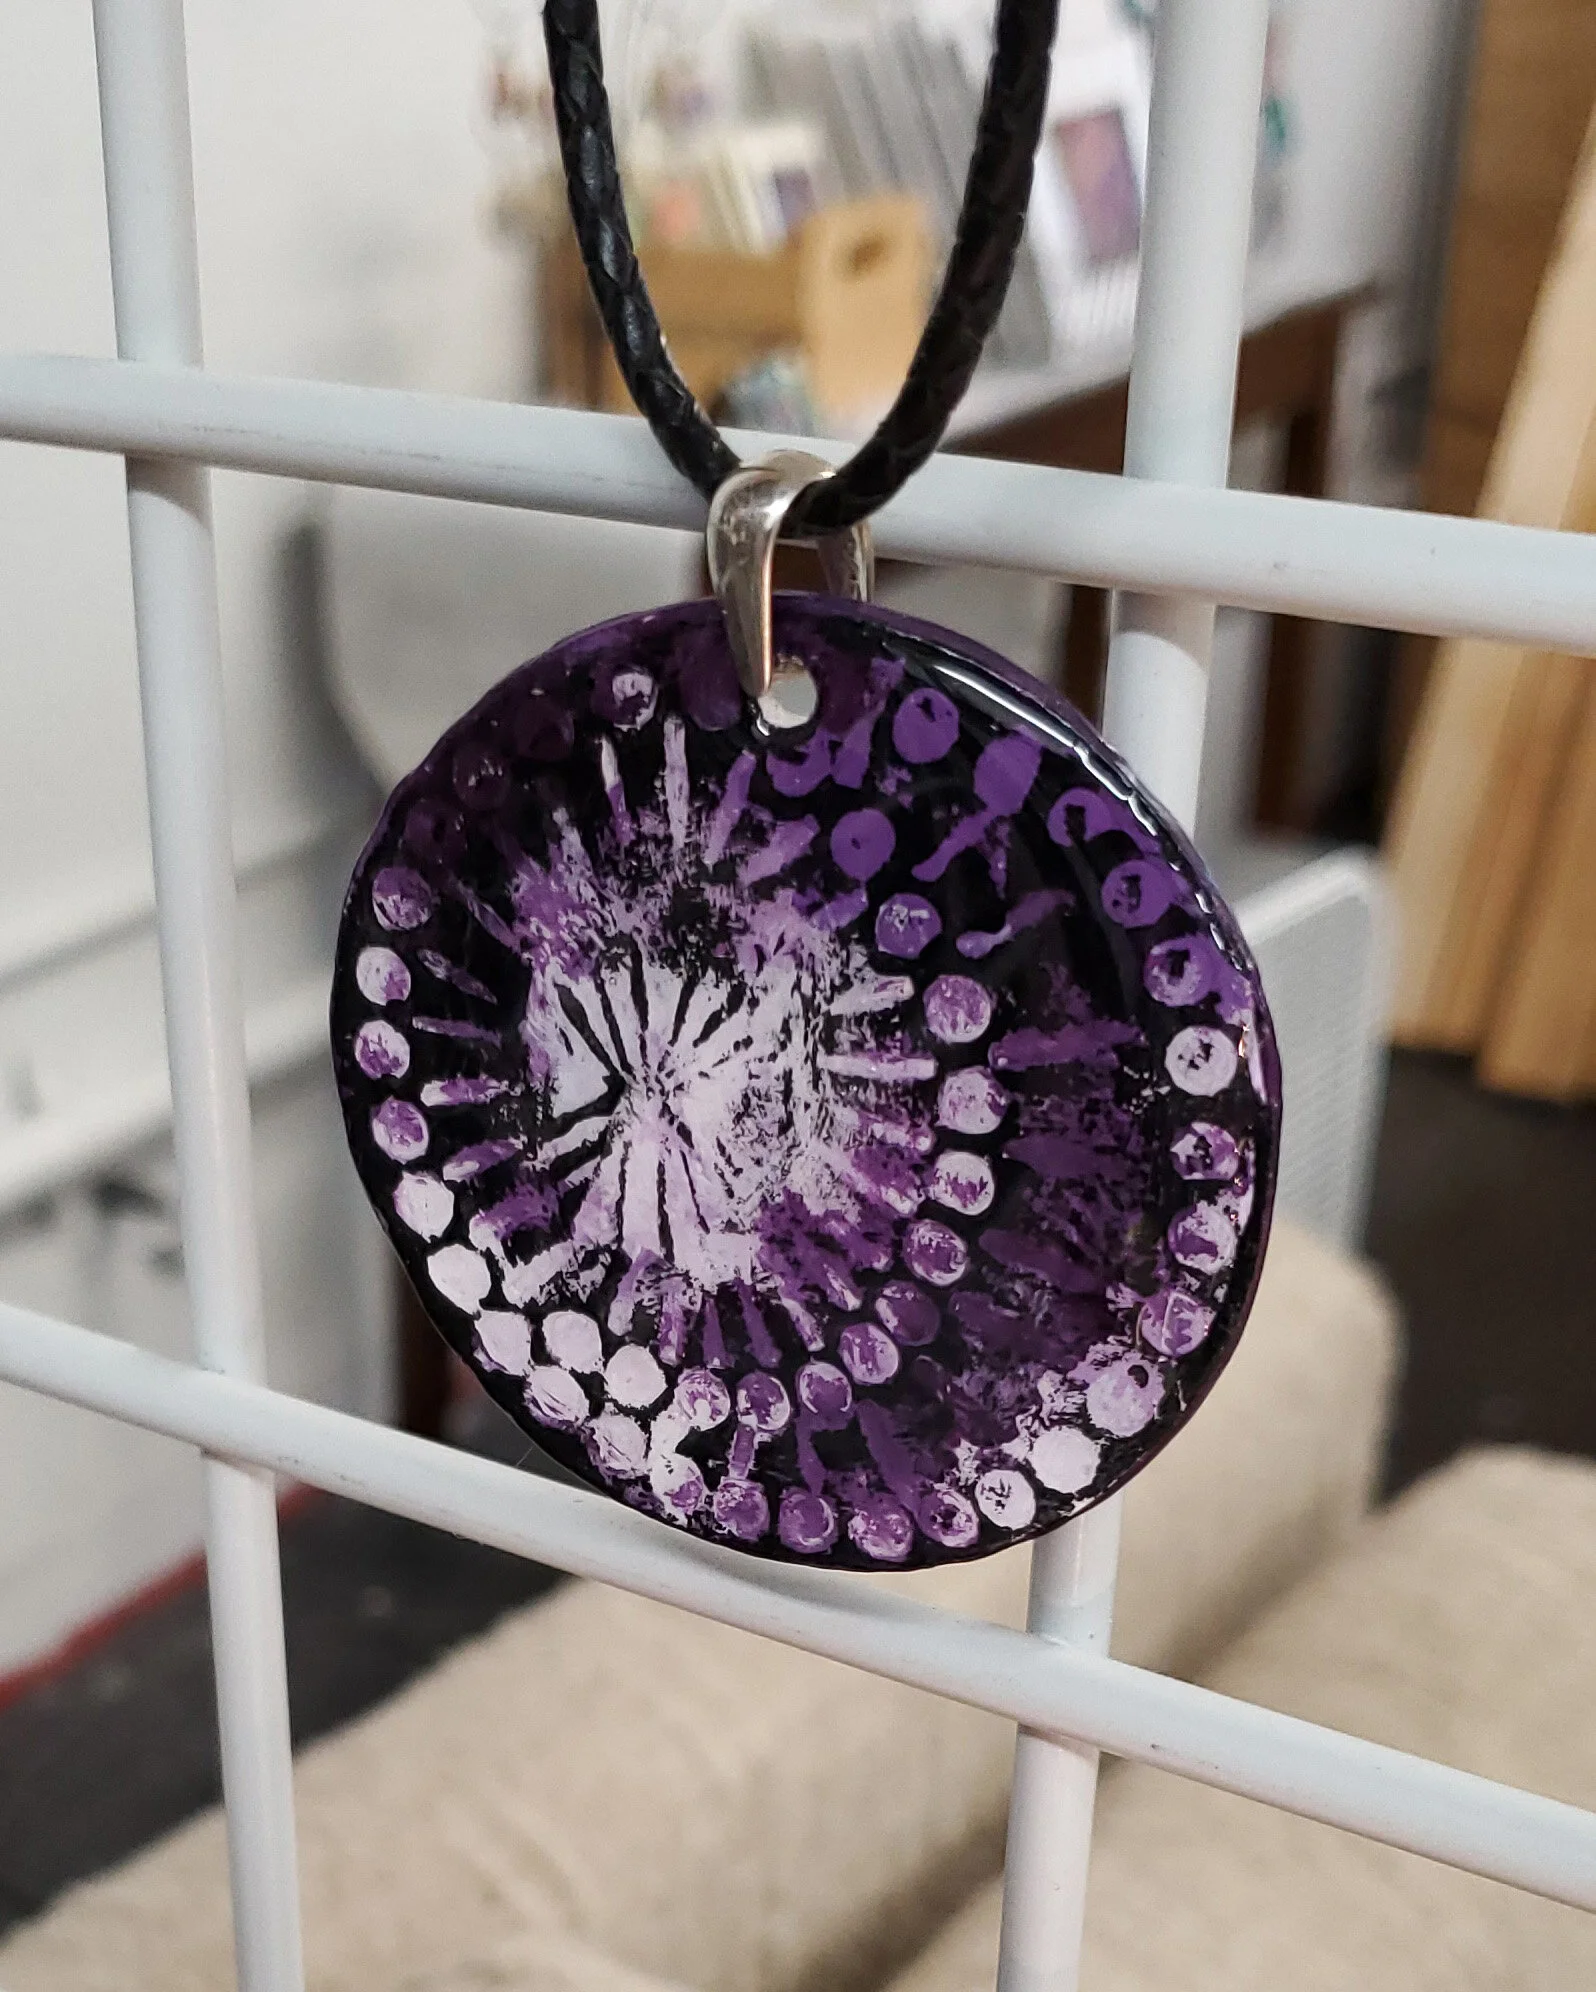
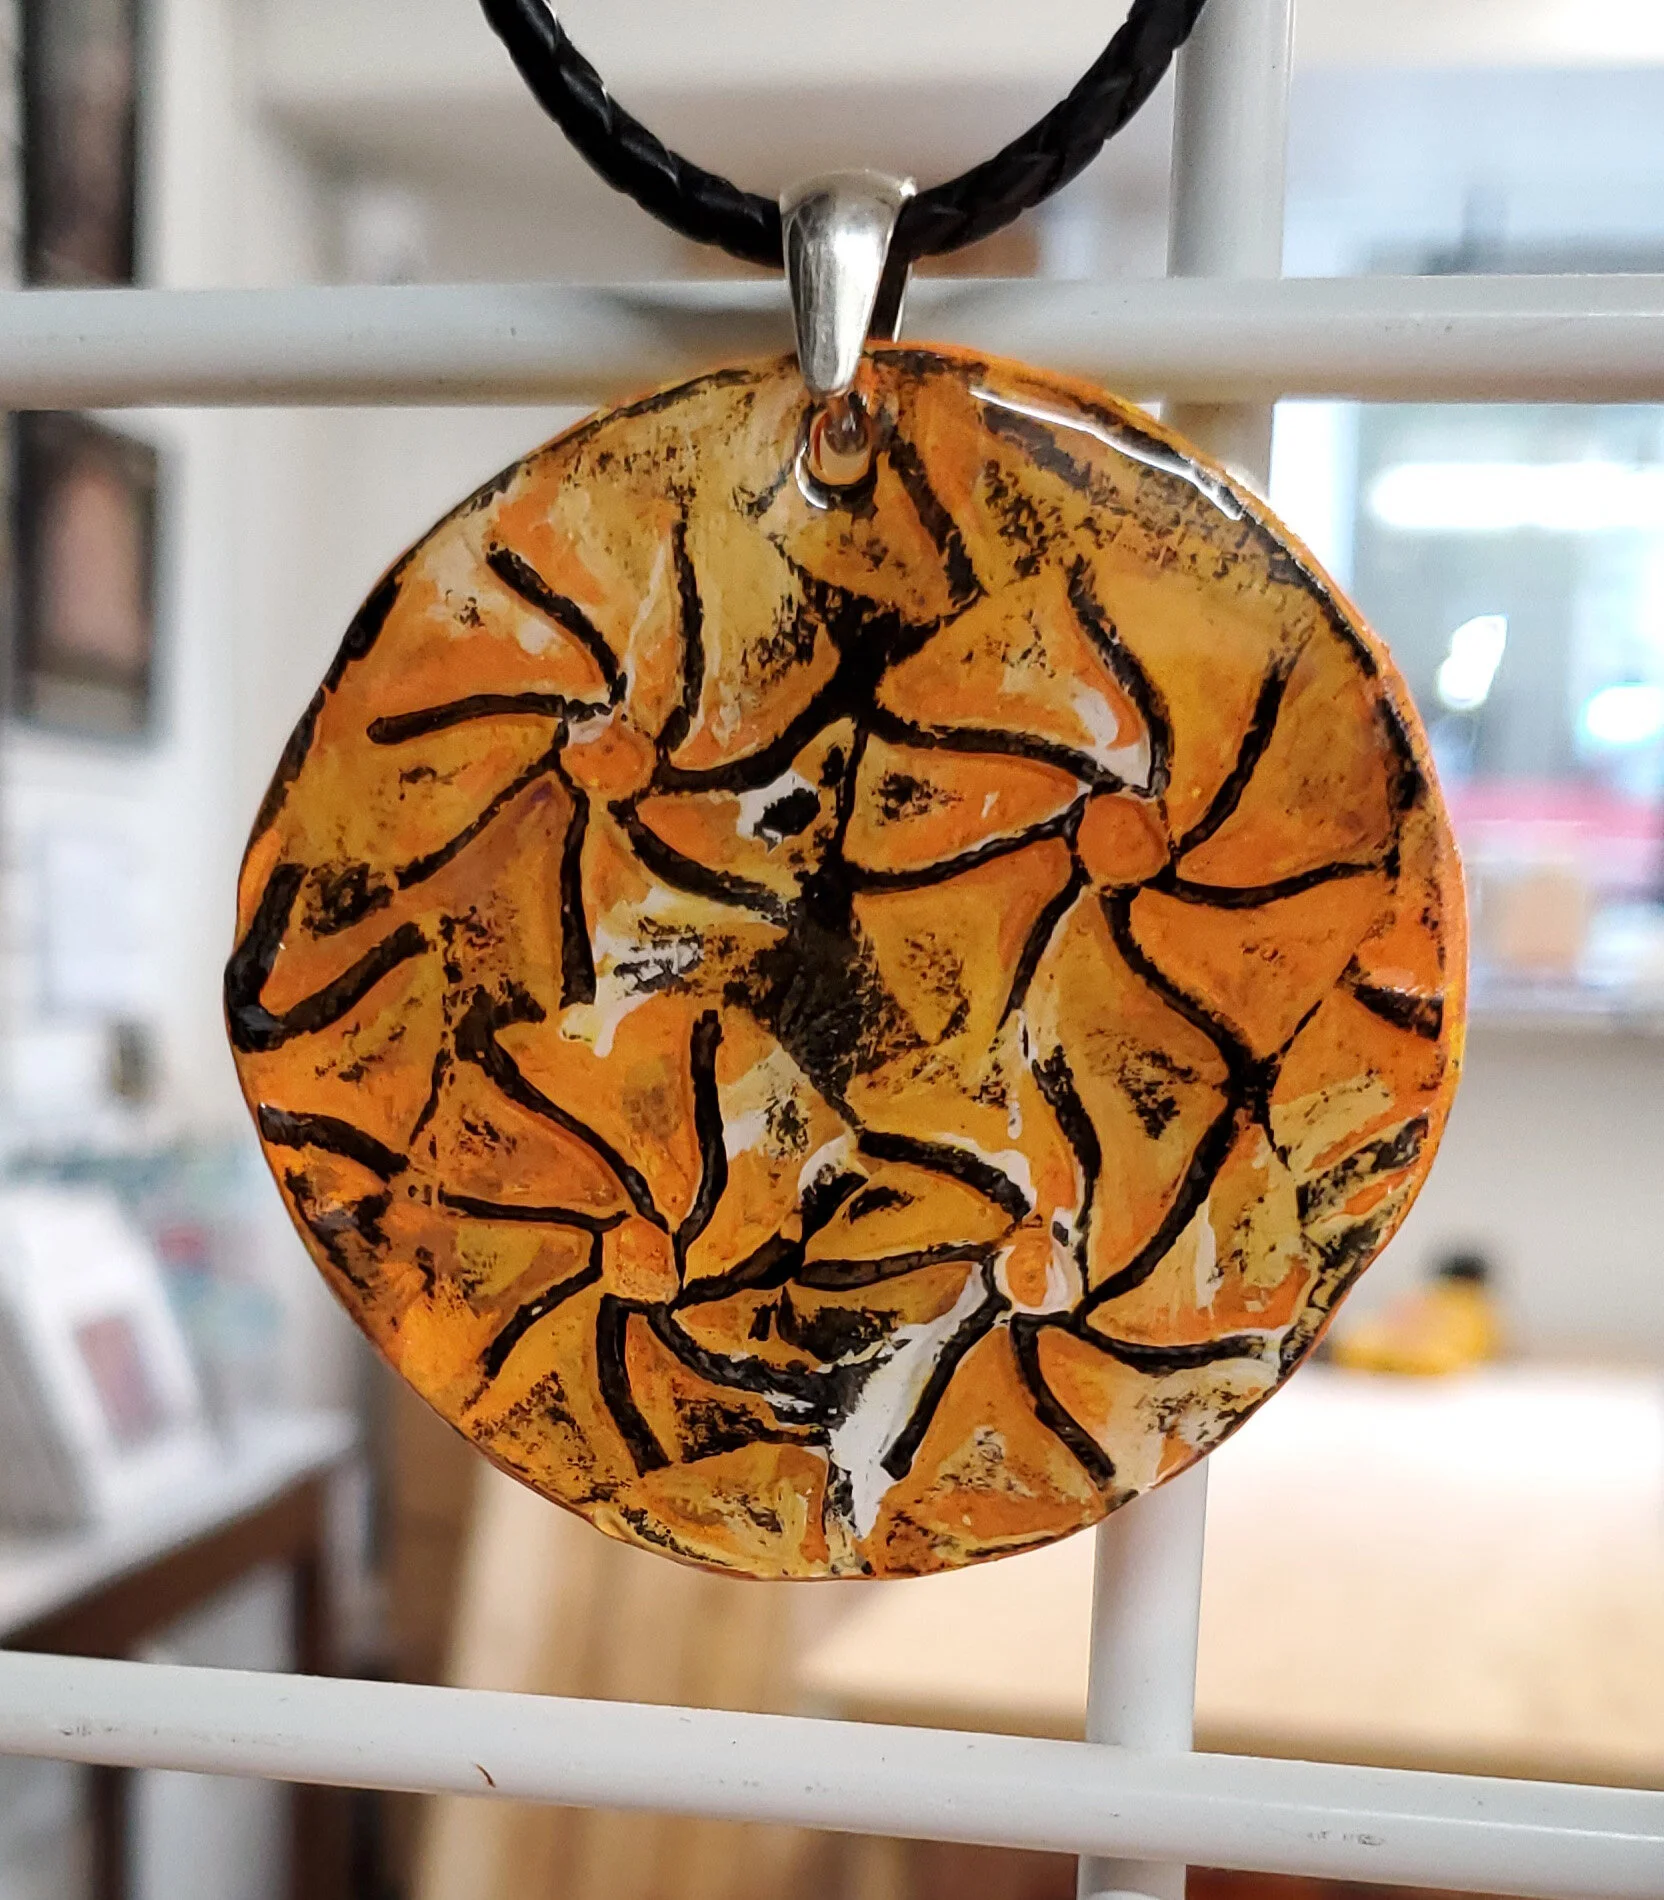
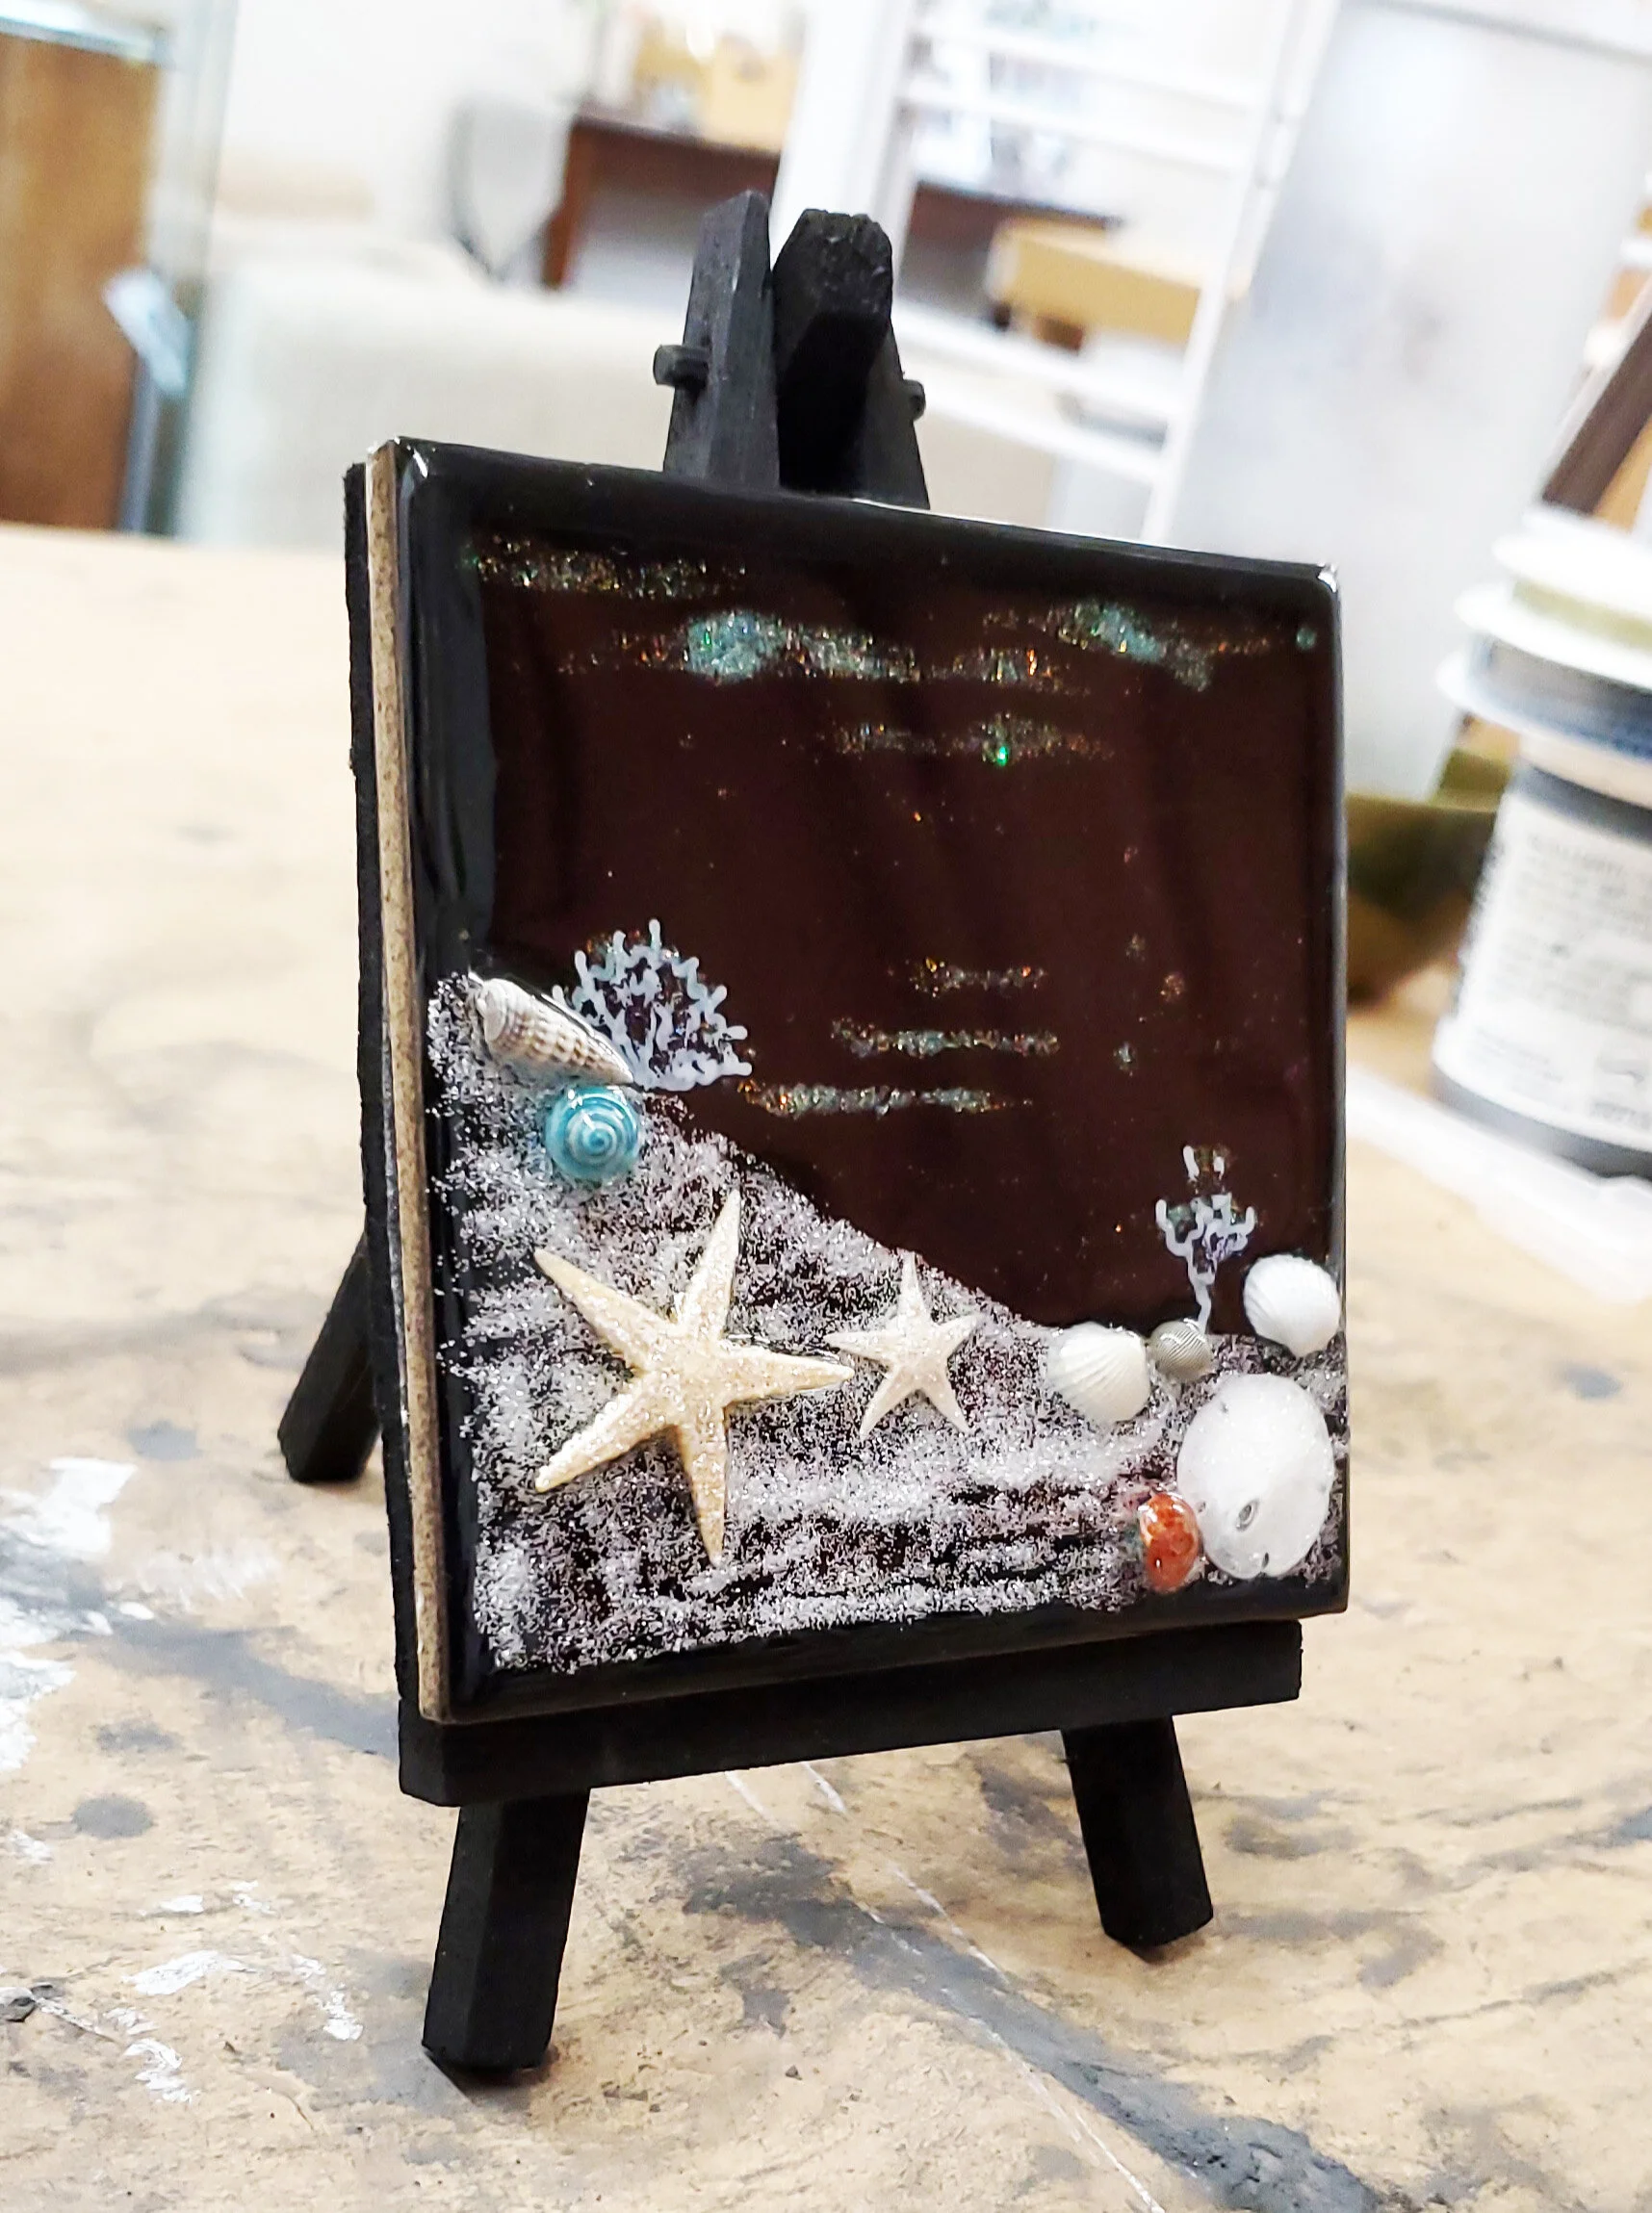
Although I do my research - thank you YouTube - I also like to try things for myself. Digging through my artist supplies I needed to figure out what media would work on glazed ceramic tiles. I thought about making small drawings, especially on the Italian slate, but first I needed backgrounds. I’d been playing with watercolor special effects for a series of drawings and liked the free flow of abstract color so I knew I wanted something like that for my tile backgrounds. I tried acrylic paints - they peeled right off; enamel paints - they stink, were obnoxious to work with, the effects were not subtle, and the paint also eventually wore off; sharpies and alcohol - this came right off; and finally, Copic markers and alcohol …and voila’ - success.
“Adding drops of 91% alcohol allowed me to swirl and blend the background colors and get the effects I wanted.”
The Copic markers were leftover from a small class I’d taken, so yay, still using what I already had.
Adding drops of 91% alcohol allowed me to swirl and blend the background colors and get the effects I wanted. I could speed up the evaporation process if I wanted to, with a hair dryer. I used black fine point Copic markers to draw my images and then let the tiles dry fully (very important). After testing several sealants I settled on a triple strength Krylon spray for the Italian slate tiles with mushroom drawings — not food safe and not to be used as coasters.
Mushrooms, because I love them…
So yeah, these don’t have color…
As I’ve mentioned in my last blog article, the majority of my ceramic tiles sat for a half a year as I ruminated on a coaster sealant, until I started using resin for mosaic project. Now that resin is the solution I have been completing coaster set after coaster set. Just taking the time to play with design and color has been so revitalizing. I’ve become extravagant with color and am shaking off the rigidity and perfectionism developed over months of working in pointillism. I’m thoroughly enjoying ‘playing’ with color. I am also very messy so the process requires gloves. I literally just scribble with markers on a tile, drop on the alcohol, blow it around with a hair dryer, let it set and fully dry for 24 hrs, spray with the krylon to protect the design, let set up an additional 24 hrs, lightly sand and clean then apply the resin. I’ve used a pocket knife and hand sander to remove resin drips, but my dremel sander works best for clean-up. Final step is adding either felt feet or little rubber feet and the coaster is finished!
Busy in the Studio
Last week’s focus has been on experimentation, completion, and satisfaction. I have had a mosaic/resin upcycle project waiting to be finished off with a second coat of resin for almost a year now, but had to wait until the dog hair in the studio had (mostly) been eliminated. Not to mention that I’ve had a number of issues this last year delaying my work in the studio - like a hip replacement, for example - minor inconveniences. But now! So many things are happening and are possible!
I cleaned up the studio, eliminated as much dust as possible considering our location, and pulled out the resin. Of course I mixed too much, so after pouring the fruit tray I had to look around for other objects to resin - and found pendants and tiles, and oh my! They turned out amazing - opening up so many more possibilities. Whenever I experiment I mentally caution myself, “if this doesn’t work, I can always use them in that project” If they turn out to be such a monumental fail that I have to toss them I shrug and chalk it up as a valuable lesson learned. Nothing is truly a total bust.
My ceramic pendants were so thin they were fragile - would probably have broken if dropped on an edge; the resin strengthened them and really popped the textures and colors. These are all hand-painted ceramics with glitter paints on a couple of them (because, why not) and those two look especially amazing encased in the resin.
The tiles were an ongoing up-cycle project from last year as well. I scored a (buttload) lot of 4”x 4” ceramic and slate tiles through a Craigslist For Free ad, had cleaned them up and experimented with them using various paints and inks. Alcohol inks ended up working best for backgrounds and drawings so next I searched for sealants. The best I’d found to date was a Krylon spray and though it sealed them well enough for art purposes, the tiles were not functional - couldn’t be used as coasters, for example. I’d drawn mushrooms on many and, naturally, the majority of people interested in them wanted…coasters. I’d shelved those tiles for months, except for the Italian slate which I sell as art only, on their own cute little easels. On another set of tiles I’d created tiny 3-D seascapes, adding miniature shells and seastars - they’re cute but too fragile, and if dropped the shells would break right off or just shatter. I grabbed an assortment of all of these tiles and poured resin. And wow! The 3D seascapes underwent a transformation - the resin elevated them from craft project to finished pieces, not to mention providing a critical layer of very strong protection over the shells. The other tiles are vivid with a crystal clear protective coating and can now be used as coasters…woot!
I count this week as a total success as I have discovered a solution to my tile dilemma and opened the door to many more projects just in time for the holiday season. I will be very busy completing projects and posting updates here, so stay tuned! By the way, I am doing my virtual happy dance right now - it is just so satisfying to complete things!
Wow, time flies.
I’m downstairs in the Bay Street Village right off the bay side parking lot. Just inside the door to the right, come find me at Suite D5!
Read MoreHeading into my Last Winter at the Grunewald Guild
As I write my first blogpost here on Anne Mullenniex ART, I am thinking about big changes and I am excited. No fear, no trepidation, the hard part is behind me; I put in my notice. I have loved my time at the Grunewald Guild for many reasons - first and foremost for the amazing people I have met and hope to keep in my life. It has been a time of healing and self-discovery for me; it taught me to embrace the term artist. I am an artist. I have always been an artist - since I could first hold a pencil in grubby little hands - but it took my arrival in Leavenworth, WA at a re-imagined grangehall, for me to understand that. I have learned what it means to be in community - the ups and the downs of that experience; between my journey through grief the last three years, and my prickly introvert perfectionistic personality, sometimes community was a difficult terrain for me to navigate. I'm still pretty sure I'm not good at it. But I have learned a lot and take the experiences with me - the good and the bad, and turn my gaze forward. Our 2017 retreat season has ended and the holidays approach, and I find myself becoming more and more excited. I have had my compulsory 3 days of rest and relaxation -self-imposed- and now I look forward to creating so much art. This is my last artist residency at the Grunewald Guild - I leave in April. I intend to document the journey here.